
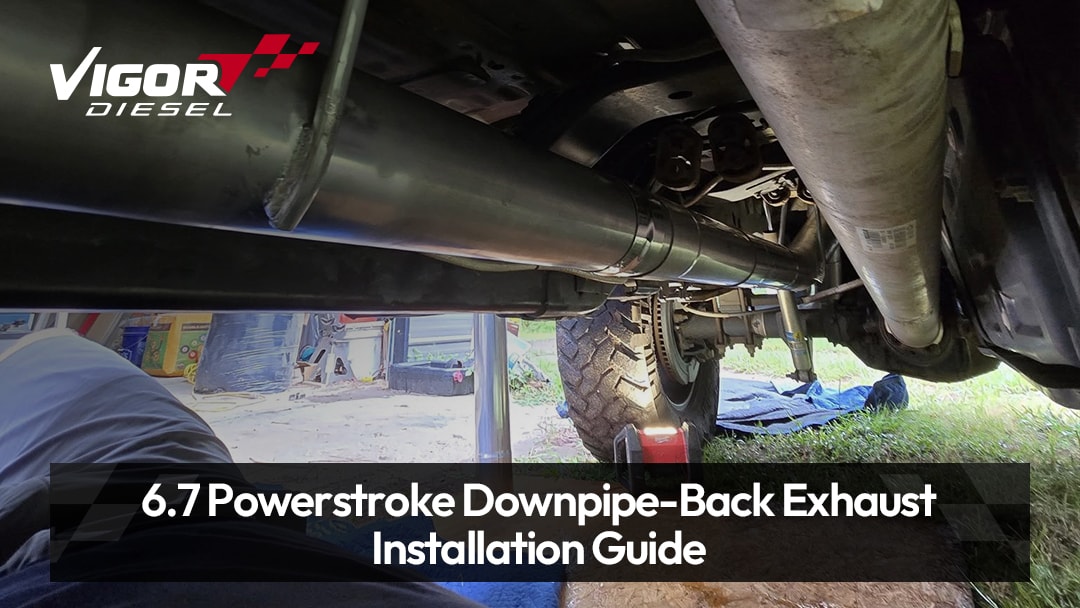
Upgrading the exhaust system of a Ford 6.7-liter Powerstroke engine is one of the most effective ways to improve exhaust flow, throttle response, and overall driving performance. A larger 4-inch or 5-inch downpipe-back DPF delete kit significantly reduces exhaust back pressure compared to the factory-limited exhaust system, while delivering a deeper, more aggressive exhaust note.
This guide details how to install the Vigor Diesel downpipe-back exhaust kit, designed to replace all factory exhaust components from the turbocharger downpipe, including the limiting diesel particulate filter (DPF).
- Applicable Years : 2011–2022 Ford 6.7L Powerstroke
- Installation Difficulty : Intermediate DIY
- Estimated Time: 2-4 hours
- Target Audience : Diesel performance enthusiasts; Owners upgrading to a 4-inch or 5-inch exhaust; Off-road or high-performance modifications.
Legal Notice: This downpipe-back exhaust system is intended for off-road or racing use only. Using this system on public roads where emissions regulations apply is illegal. It is the responsibility of the vehicle owner to verify all applicable emissions and registration requirements before installation. Vigor Diesel is not liable for any damage caused by improper or illegal use of this product.
Tools Required and List
Proper preparation is essential for a smooth 6.7 Powerstroke downpipe-back exhaust install.
Required Tools
- Socket wrench and ratchet wrench set
- Vehicle lift or jack and jack stand
- WD-40 or penetrating lubricant
- Safety gloves and goggles
Vigor Diesel Downpipe-Back Exhaust Kit Includes
- 4-inch or 5-inch lower exhaust pipe to rear exhaust section
- Exhaust pipe clamps
- Exhaust hangers
- Flanges and hardware
Precautions and Installation Tips
Before you begin installing the 6.7 Powerstroke downpipe-back exhaust, please remember the following:
- Always disconnect the negative terminal of the battery before performing any work on the exhaust system.
- After the engine is off, allow the exhaust system to cool for at least 30 minutes.
- Spray all flange bolts and exhaust hangers with WD-40 and let them sit for 10 minutes to prevent hardware from jamming.
- The DPF section is very heavy and must be properly supported with a jack or gearbox bracket before any connections are loosened.
- Do not fully tighten the clamps until you have completed the final exhaust pipe alignment.
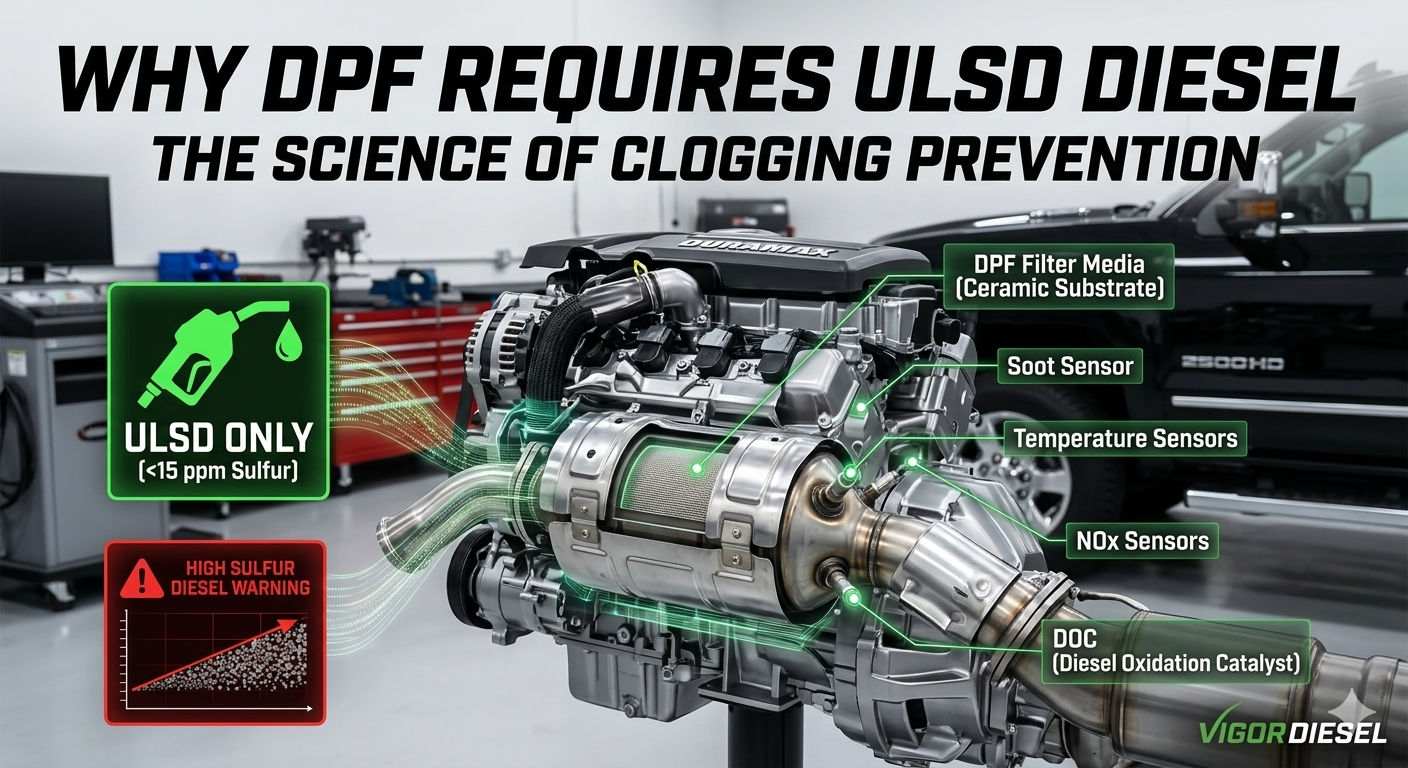
- Use professional ECU tuning equipment or procedures to disable the relevant sensors and regenerative functions.
Step-by-Step Installation Guide
Step 1: Installation Preparation
Before removing any factory exhaust components, proper preparation ensures both safety and efficiency. Park the truck on a level surface and engage the handbrake. Disconnect the negative battery terminal and ensure the exhaust system is completely cooled. Apply penetrating lubricant to all exhaust flange bolts and hanger connections, ensuring it is fully saturated.
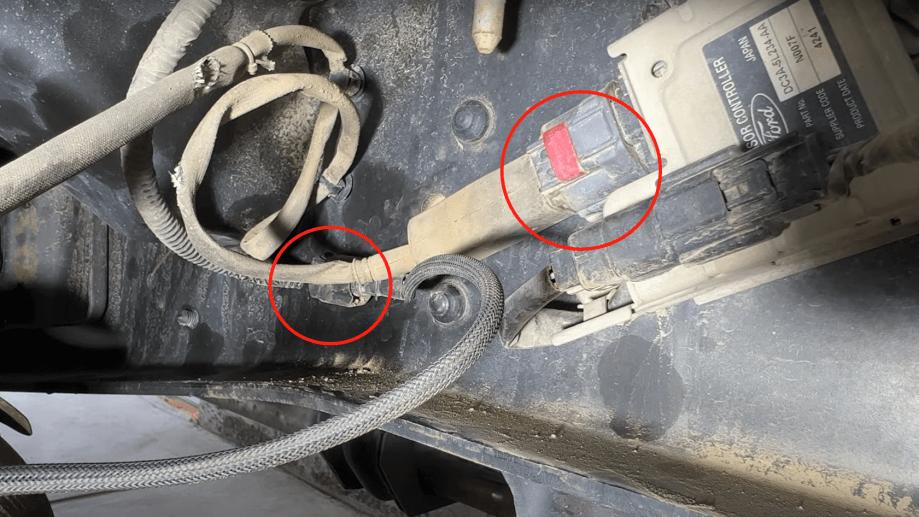
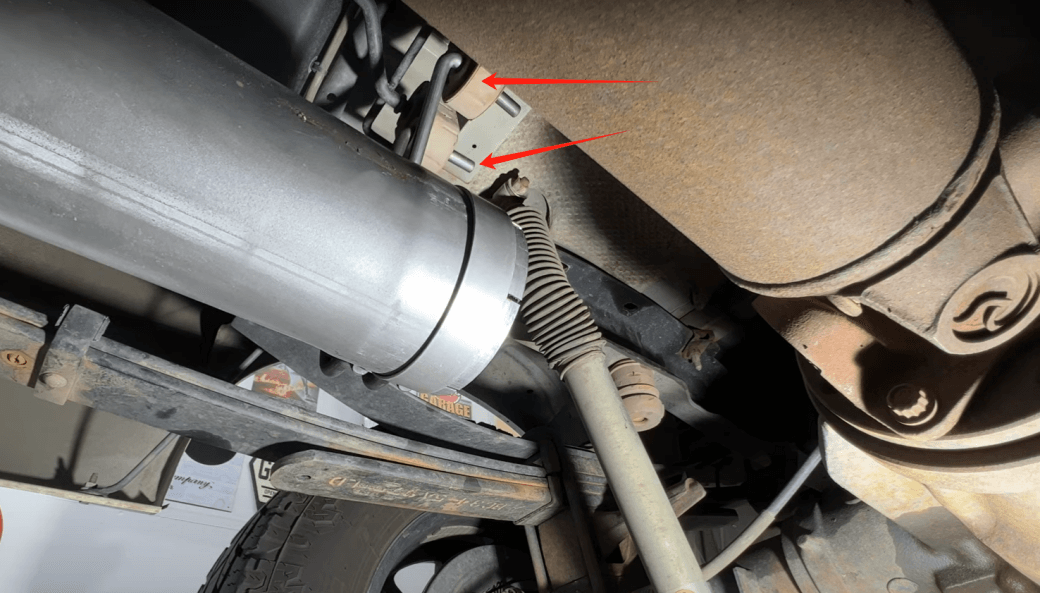
Step 2: Disconnect Sensors and Support the DPF Section
Disconnect the exhaust aftertreatment system sensor connectors and harness clips associated with the DOC, DPF, DEF, and SCR components one by one. Remember to place a jack under the DPF section to support its weight before loosening any flange bolts.
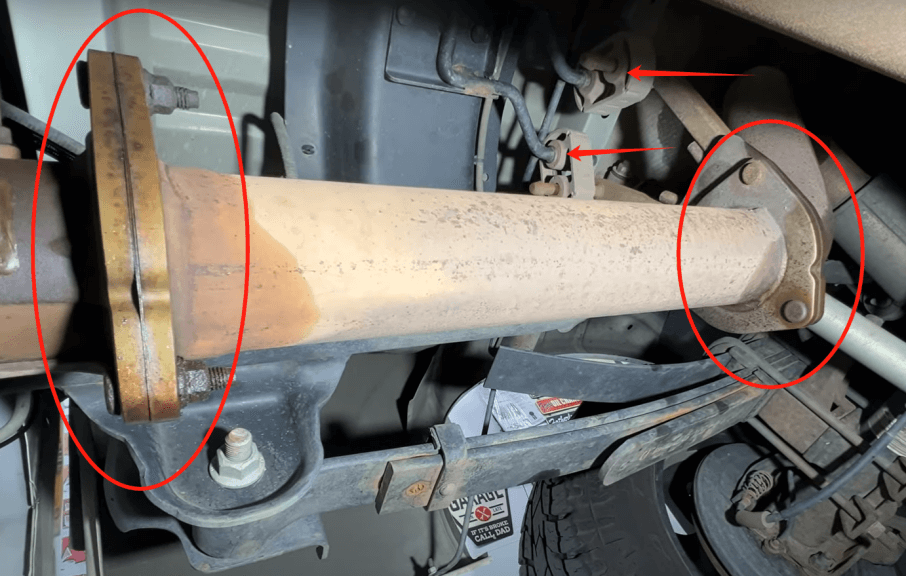
Step 3: Remove the Rear Exhaust Pipe
Spray lubricant on the exhaust pipe hooks. Remove the rear exhaust pipe hanger and carefully pull the rear exhaust pipe from the rear axle towards the rear of the vehicle.
Step 4: Remove the DPF Section
Loosen and remove the flange bolts on the exhaust straight pipe. Remove the front and rear exhaust hangers, then slide the DPF section rearward and remove it from under the vehicle.
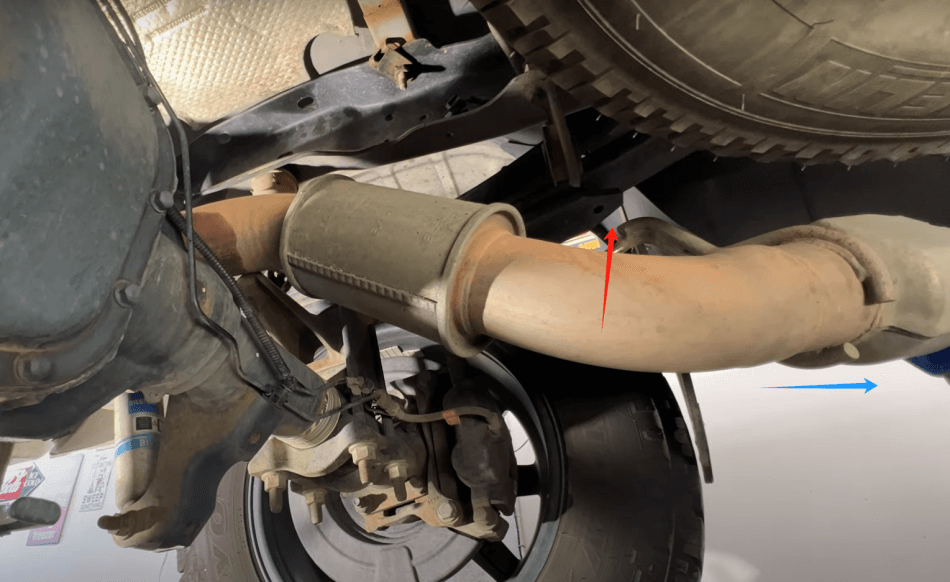
Step 5: Install the Front Exhaust Section
Install the front section of the exhaust pipe and loosely tighten the flange bolts for alignment. Reinstall the original exhaust hanger and bracket in their original positions, then install the straight-through hanger from the Vigor Diesel kit.
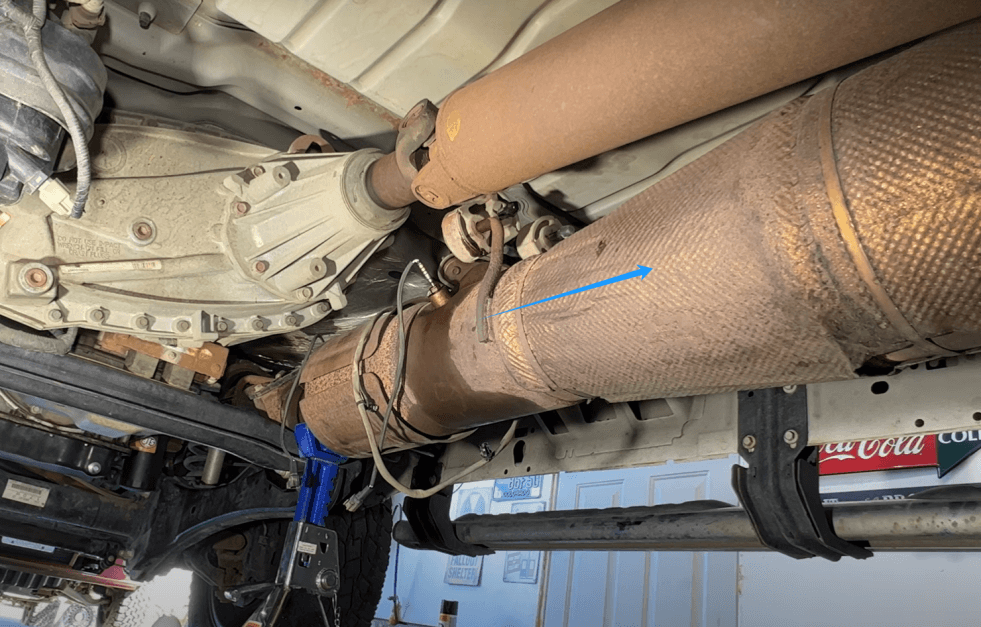
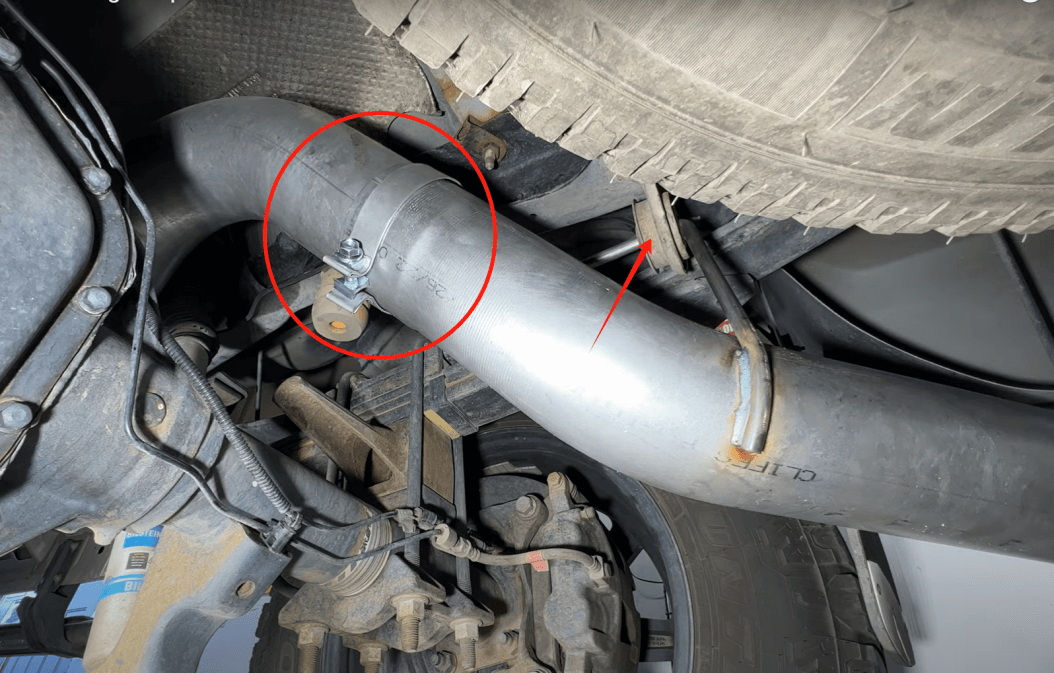
Step 6: Install the Rear Exhaust and Adjust the Mounting Position
Install the rear exhaust pipe and pre-tighten the clamps, allowing for adjustment. Adjust the exhaust outlet position to maintain a certain gap with the bumper and body panels to prevent vibration or rattling.
Step 7: Final Alignment and Tightening
After aligning the entire system, evenly tighten all clamps and flange bolts from front to back. Double-check the clearance between the exhaust pipe and the frame, axles, and suspension components.
Post-Installation: Testing and Tuning Tips
After exhaust system installation:
- Reconnect the battery negative terminal and start the engine. Let the engine idle for a few minutes.
- Carefully inspect each connection for hissing sounds or black residue, indicating a leak.
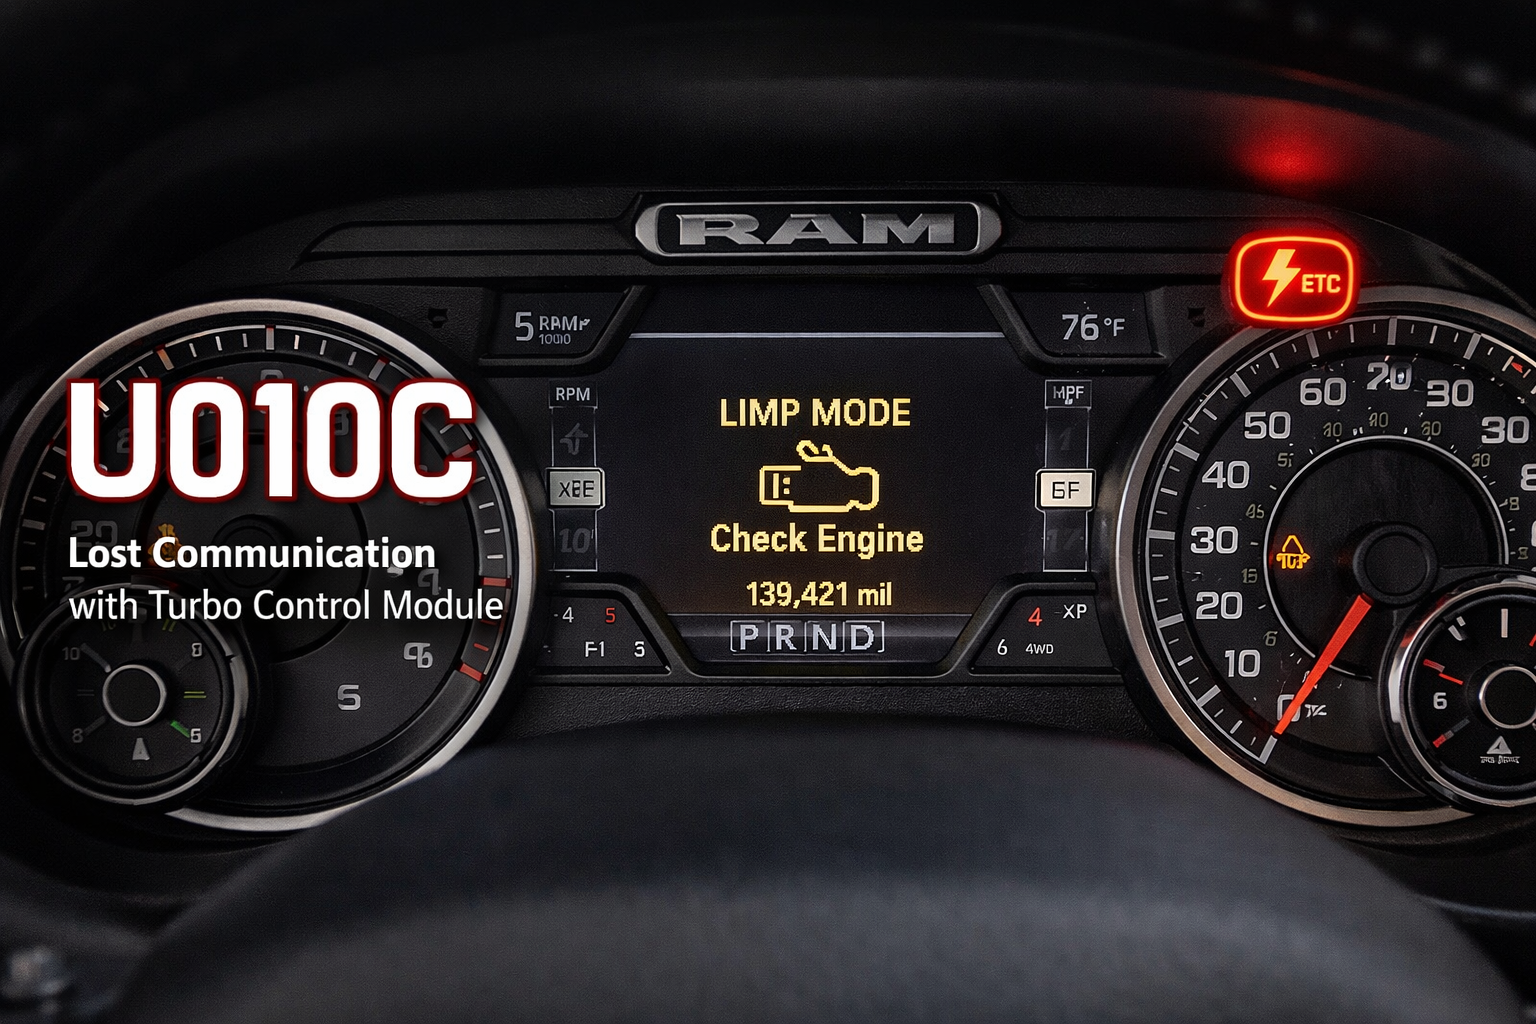
- Observe the warning lights on the dashboard. If any warning lights illuminate, consult a professional tuner immediately.
- Confirm that the ECU tuning performed before disassembly was correct to ensure optimal engine performance and prevent limp mode.
Frequently Asked Questions
Conclusion
Installing the Vigor Diesel Downpipe-Back exhaust system on your 6.7L Powerstroke is a key step towards a comprehensive improvement in performance, sound, and efficiency. The larger pipe diameter and smoother flow path design effectively reduce exhaust temperatures, minimize turbo lag, and allow your truck to breathe more smoothly. For more technical details, compatible exhaust options, or installation support, feel free to contact our customer service team.